The release of the 2.6.0-alpha2 version of PrusaSlicer brings two new functions to the slicer that will be valuable additions to the photogrammetry workflow.
Measurement tool
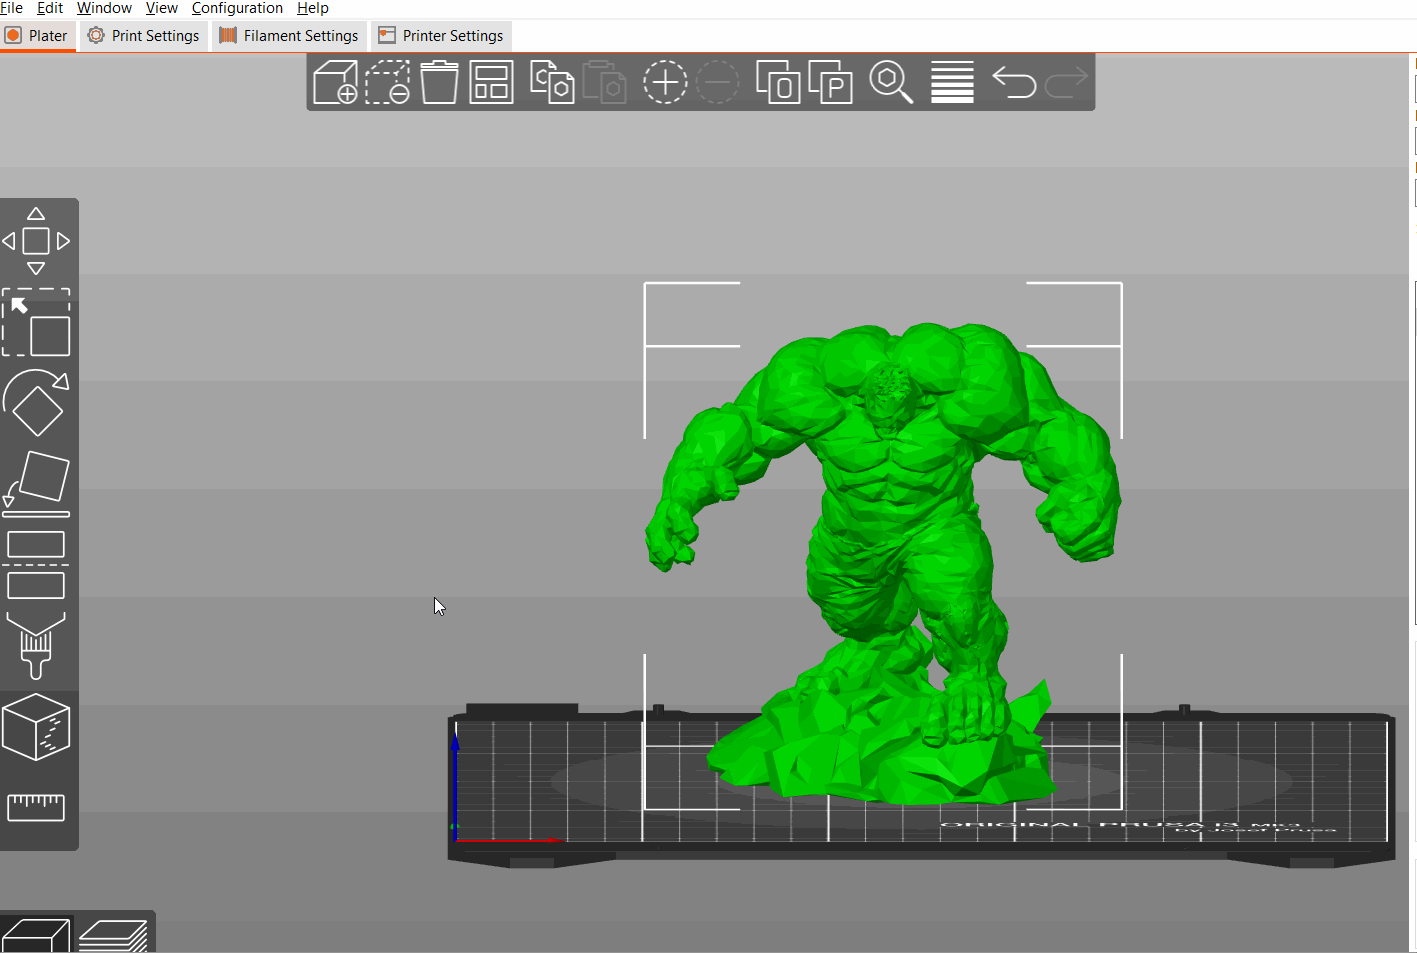
The new measurement tool in PrusaSlicer 2.6.0-alpha2 "recognizes points (vertices), edges, circles and planes" and allows you to take measurements between these. Additionally, it allows you to pick a measurement and scale it – and the rest of the model along with it – to a desired length.

Improvement for 3D scanning:
A common nuisance with 3D models obtained through photogrammetry is that they do not turn out to scale. That makes it necessary to load the file into a 3D-modelling program, choose a dimension that can be measured on the scanned part and scale the 3D-model by defining the same dimension in the modelling software.
With the measurement tool in PrusaSlicer, this step does not require the extra steps of opening your favorite modelling software, importing the raw file, scaling and exporting it. Instead, you can load the file you get from the OpenScan cloud directly into PrusaSlicer and integrate the scaling into your slicing workflow.
Cut tool
The cut tool got some advancements as well. In 2.5, PrusaSlicer allowed you to make perfectly horizontal cuts, but cuts in other orientations were cumbersome, because you had to rotate the .stl, make the horizontal cut and rotate the part back into its original orientation. The cut tool in the 2.6.0-alpha2 version allows you to make cuts in arbitrary orientations.
Improvement for 3D scanning:
Another step necessary for getting your scanned .stl into the slicer is its orientation as well as the transition into the turntable, where the bottom end of the scanned object is sometimes blurred into its substratum. Again, cleaning up these artefacts requires loading the file into a modelling software and orienting it correctly as well as getting rid of the scanning artefacts, but with the new functionality in PrusaSlicer, these steps can also be integrated into the slicing workflow: After cutting off the artifacts at the bottom of the .stl you can simply use PrusaSlicer's Place on face feature to put it on its feet.
Feature overview
To check out these and other new features in the 2.6.0-alpha2 release, we recommend Thomas Sanladerer's excellent (as usual) video: PrusaSlicer 2.6 might change how we work with 3D files (and you can use it with any 3D printer)!